
CHRISTMAS CRAFTS 4: Santa Décor & Hat
Today we’re going to make two Santa projects. One you can hang, and the other you can wear…
Santa Project #1:
Stick Santa Décor

Here’s what we’ll need:
- red and silver glitter foam
- tongue depressors
- transparency sheet
- foam tape
- double sided tape
- googly eyes
- red, white, yellow and black felt
- glue gun
- masking tape
- scissors
- tracing paper
- pencil
- silver string
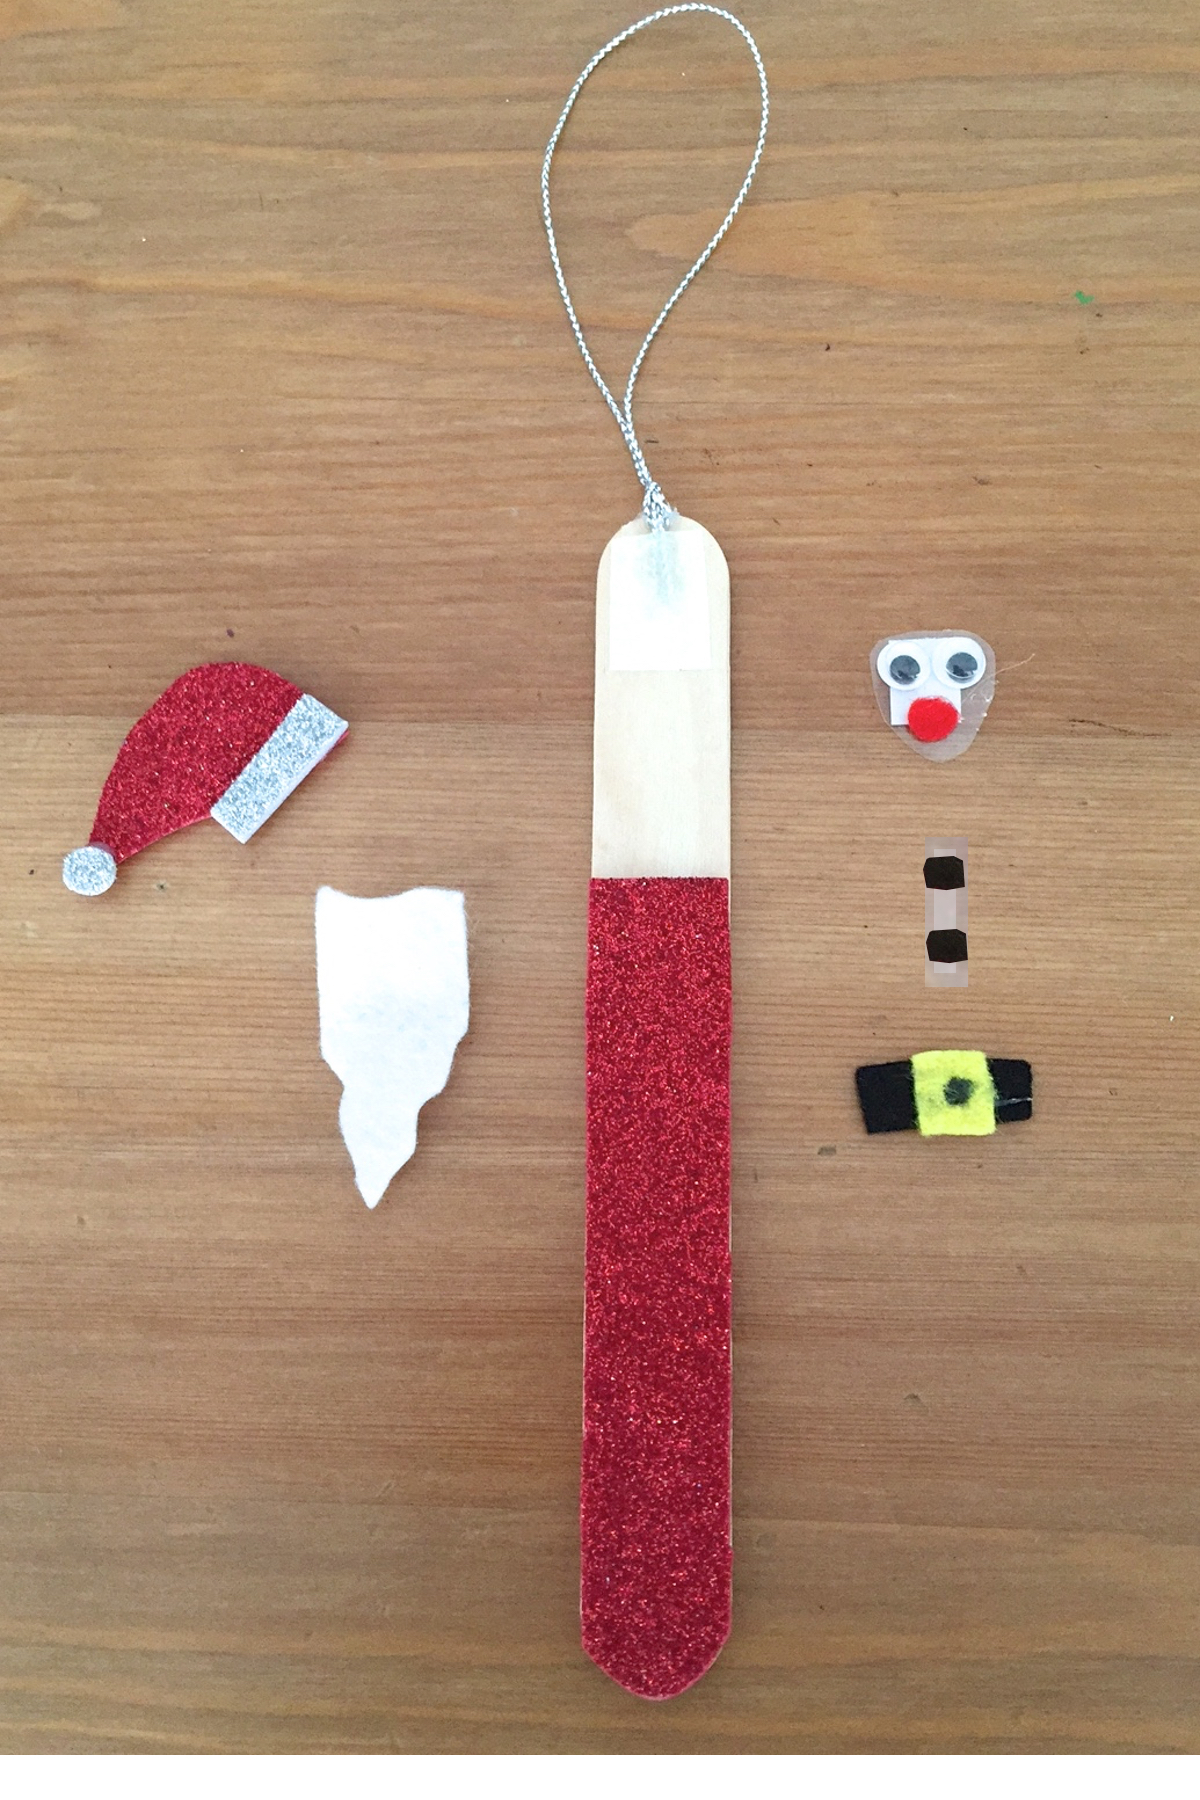
Stick Santa Décor Activity Kit
1-tongue depressor with string , 2- red strip for Santa’s shirt, 3- santa hat, 4- beard,
5- googly eyes and red nose, , 5- buttons and belt.
STEPS:
- Start with the string. Use glue gun to attach string to top of tongue depressor.
- Santa by Design. Sketch Santa on to the tongue depressor.
- Make your pattern. Using tracing paper, trace the following parts: hat, beard, shirt, belt & buckle. Cut them as separate pieces as these will serve as a pattern to cut foam and felt.
- Make Santa’s bits using the materials specified: a) hat- silver and red foam, b) beard – white felt, c) nose – red felt (use single hole punch), d) shirt – red glitter foam, e) belt – black felt, e) buckle- yellow felt, f) buttons – black felt
- Prepare Stick Santa Activity Kits. Use glue gun to adhere googly eyes and nose onto a little piece of transparency. Allow to cool, then put double sided tape on the back for easy assembly. You may do the same for the buttons-belt-buckle. If you are working with little folks like I am, the fewer tiny pieces to stick, the better for little hands!
Santa Project #2:
Stylized (& Personalized) Santa Hat
for kids aged 1 to 92
Here’s what we’ll need:
- Christmas fabric (with elements you can cut and glue onto your hat)
- polka dot or plain fabric (for name of person making the hat/or for whom the hat is made for)
- white glue
- scissors (pinking shears too if you have a pair)
- optional: mini bells

STEPS:
- Line santa hat with newspaper to prepare for some serious gluing. Set aside.
- Cut out images on Christmas fabric that you wish to use.
- Cut out person’s name from plain or polka dot fabric. Try using pinking shears.
- Play around with composition – centrepiece, background components and person’s name.
- Glue away…
- Use glitter glue pens to further embellish hat.
Optional: Attach some bells (to add to the joyful spirit of the season)

Candy canes – all cut and ready for some yuletide gluing fun!

Hat Centrepiece. Here are some examples of yuletide fabric from which you can source the centrepiece.

Sample lay-out 1

Sample Lay-out 2 (with silver glitter glue)
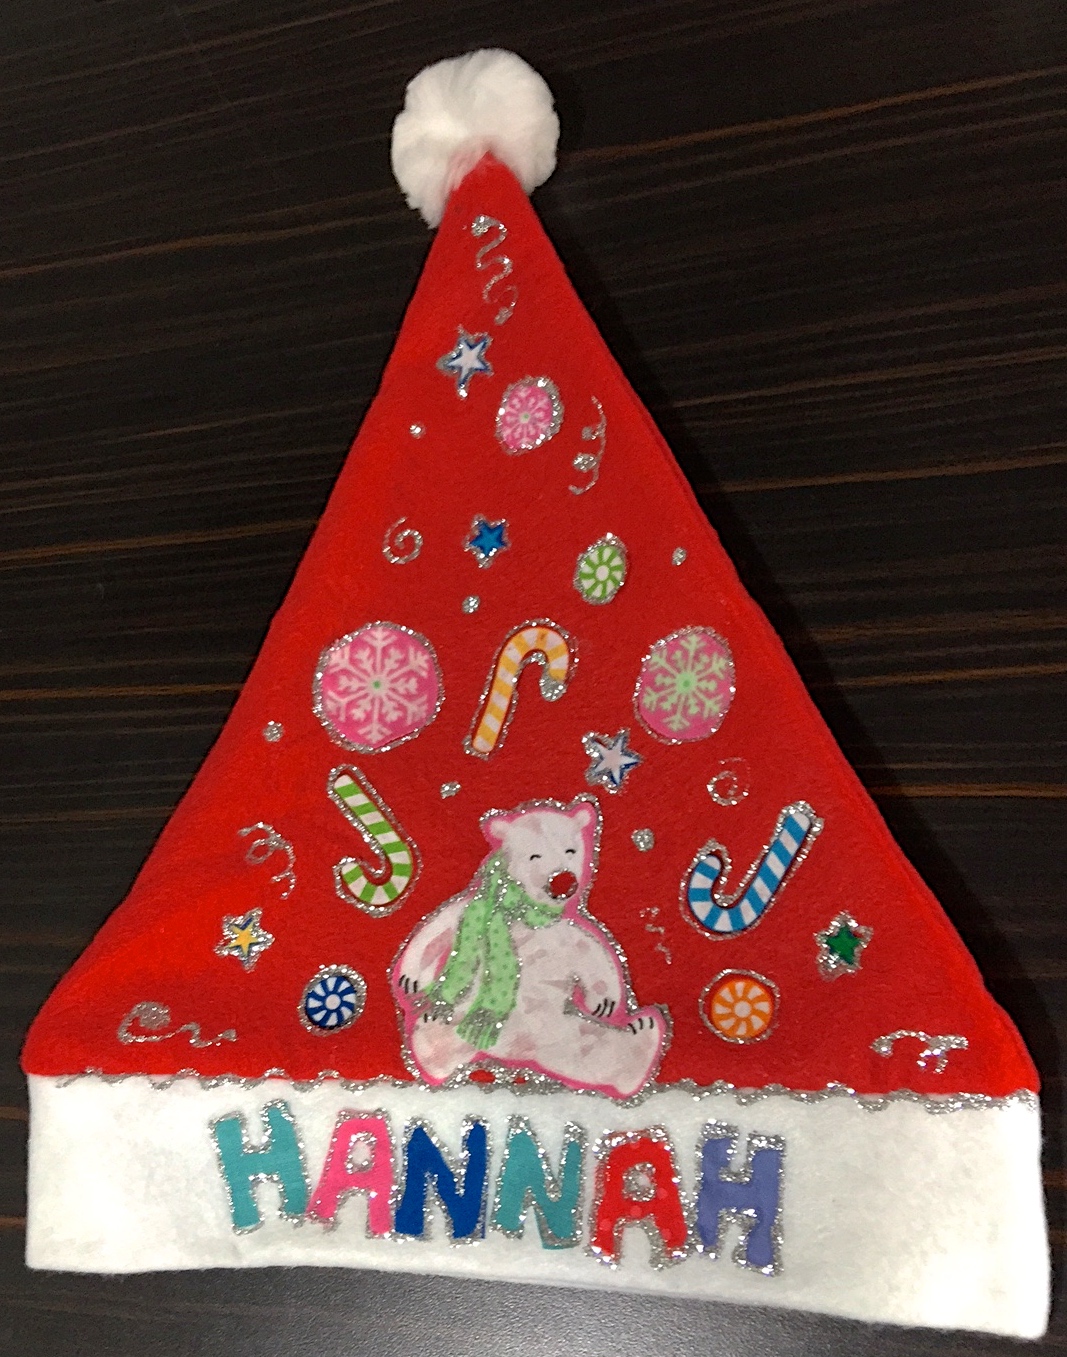
Make a completed sample to show the kids. Here’s the hat I showed my students…
If you teach kids ages 2 to 5 (like I do), it will best to pre-glue their names and pre-cut the little bits for them to glue.

My young crafters busy with their Santa hats…
Here are the Santa hats my students stylized in class. Definitely no two hats alike!
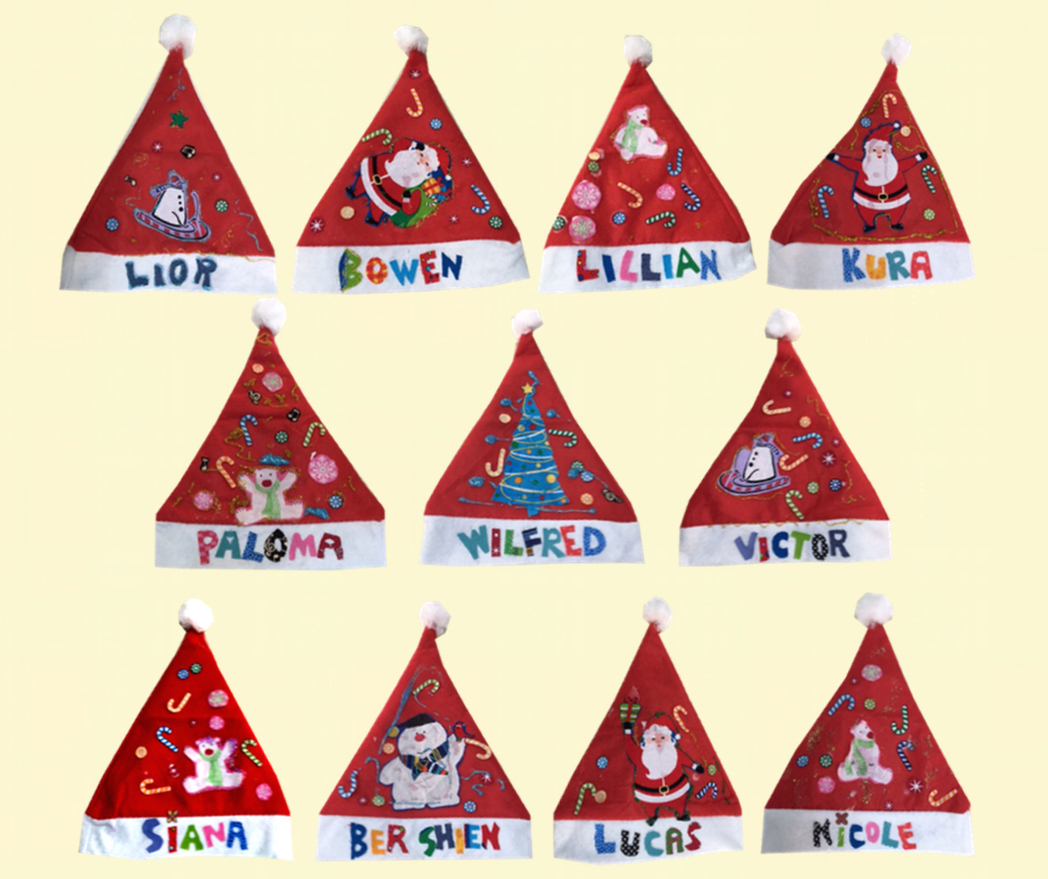
Oh this Christmas -my students may have their hats, and wear them too, hahaha!

![]()
So do…add a new twist to the annual yuletide celebrations. The stylized hat is just another way to make it extra special for the little ones.

Recent Comments