
CHRISTMAS CRAFTS 3: Rudolph Décor & Artcard
Today we focus on Rudolph – you know the red-nosed reindeer that everybody sings about during this time of the year? We are making a Rudolph card and then a décor.
The Rudolph Card
You’ll need:
- bronze card stock paper (or just thick kraft paper)
- brown art paper (for horns)
- white sticker (for eyes)
- red felt (for the famous nose!)
- permanent marker (to draw eyes & mouth)
- white glue
- popsicle stick (for spreading glue)
- scissors
- pencil
- tracing paper
Below is the image that inspired this project…a piece of cardboard from a tissue box from last Christmas which I have saved hoping to be able to use it one day. True enough that day eventually came, and here I am sharing the steps to this Rudolph project with you.

Rudolph kleenex box that inspired today’s project.
STEPS:
- Using tracing paper, trace ears, eye and nose. Then make a pattern to help you cut these pieces with more accuracy and consistency.
- Cut the number of pieces you need.
- Provide every child with the pieces to the Rudolph card: 1 bronze card, 1 big red nose, 2 white sticker eyes, 2 horns and also a pen to use to draw Rudolph’s eyes and mouth. Oh yes, don’t forget to provide Elmer’s glue and a popsicle stick for spreading glue

The Rudolph Card-assembly kit

Some of my students working on the Rudolph card.
Here are the Rudolph cards of my students: No two cards alike, that’s for sure!
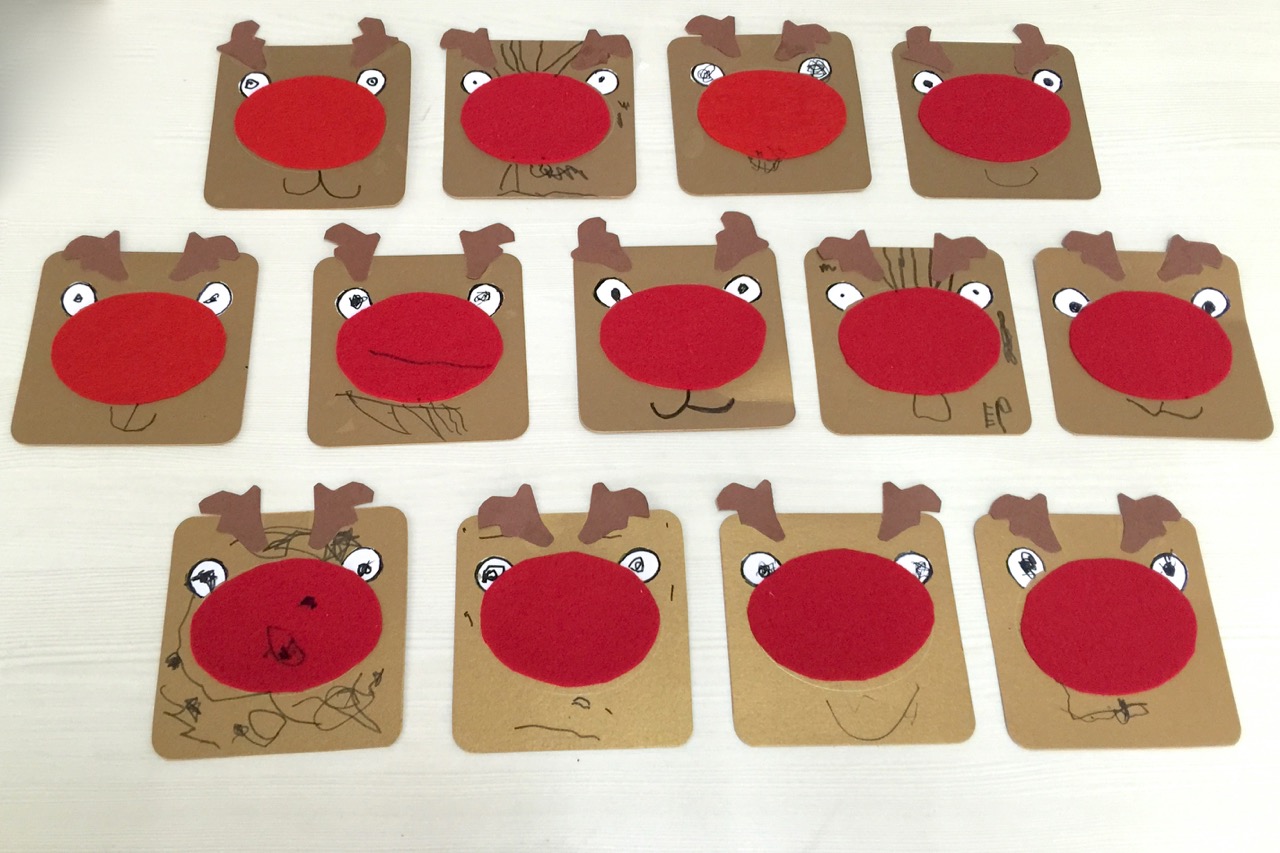
The Rudolph Cards – No two cards alike, that’s for sure!
The Rudolph Décor
You’ll need:
- store-bought plastic deer ornaments or you can make your own (I got a 6 pack @ $2.50 at Daiso Singapore)
- cardstock Kraft paper
- scissors
- white glue
- glue gun
- acrylic paint (for body:raw sienna & Burnt umber; for nose: bright red)
- paint brush
- tracing paper
- various fabric swatches (in yuletide hues)
- fuzzy twist ties (for Rudolph’s winter scarf)
- red mini pompoms (for Rudolph’s nose)
- silver string
Here is the ornament that started it all, a plastic deer Christmas ornament, heavily laden with glitters. I thought if I can turn this into a paintable surface or at least ‘cartable’ piece, then it would be perfect for my class. So this post shows you how my creative adventure went…
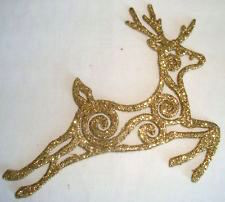
The glittery plastic deer ornament that started it all…
STEPS:
- Preparing Body piece: Using tracing paper, trace the body of the deer. Use this as a pattern to cut several in paper and fabric to cover front and back of deer.
- Altering Rudolph: Using glue gun, adhere the paper covers to front and back of deer. And also glue on the mini pompom to make a big nose for Rudolph.
- Painting Rudolph: Rudolph’s body: A basecoat of raw sienna, then a burnt umber topcoat brushed on sparingly, makes for a nice rustic look. (nobody could guess he had a glittery past, hahaha) Rudolph’s nose: with bright red paint
- Decorating Rudolph: glue fabric onto body, paint Rudolph’s nose with bright red paint, make a winter scarf for Rudolph with gold fuzzy twist tie.
- Make a Hanging Loop: Cut 6″ of the silver string, thread through Rudolph’s ear and tie a knot.
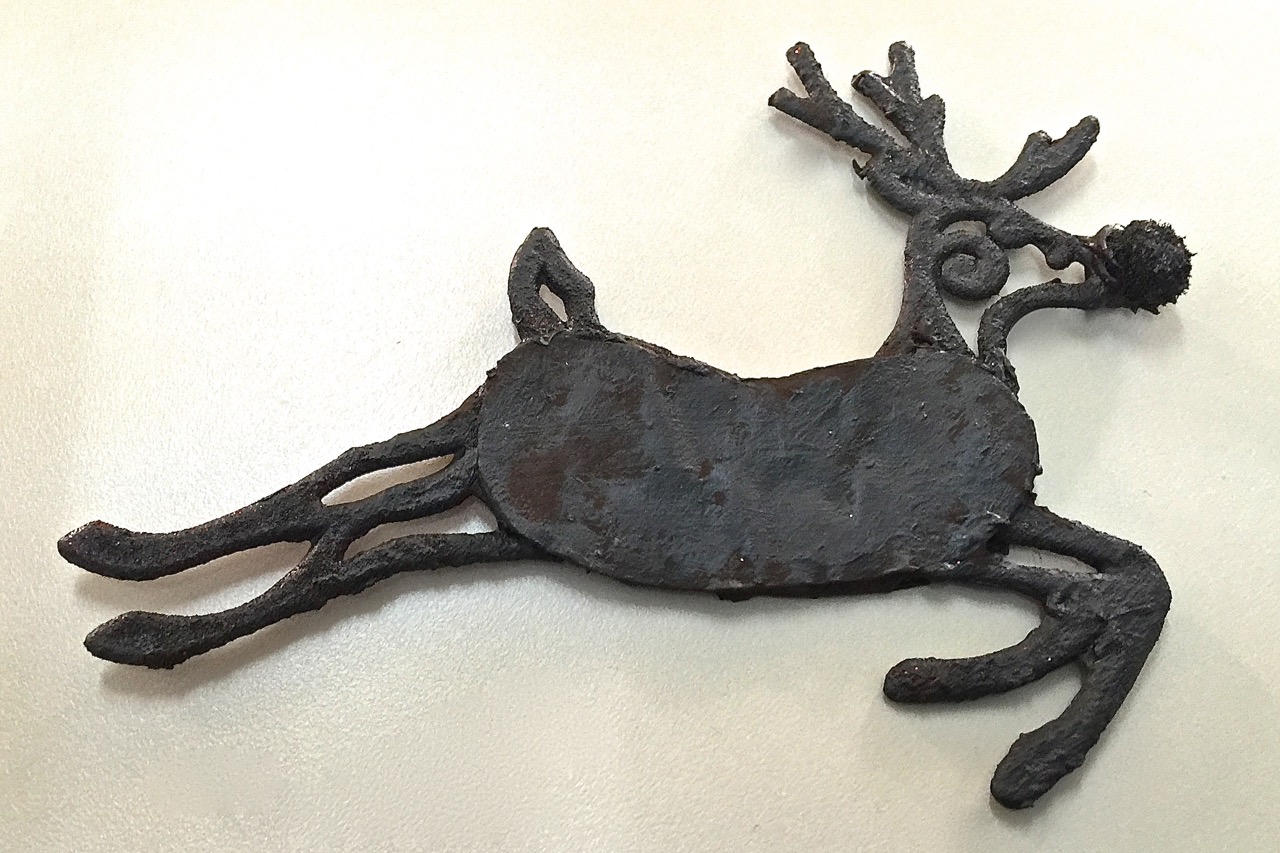
Rudolph’s new look – rustic! Who’d ever think he’s had a glittery past? hahaha

Rudolph’s festive body pieces waiting to be glued onto Santa’s famous helper!

Here’s my sample RUDOLPH on the Christmas tree.

My little dears working on their deers..hahaha
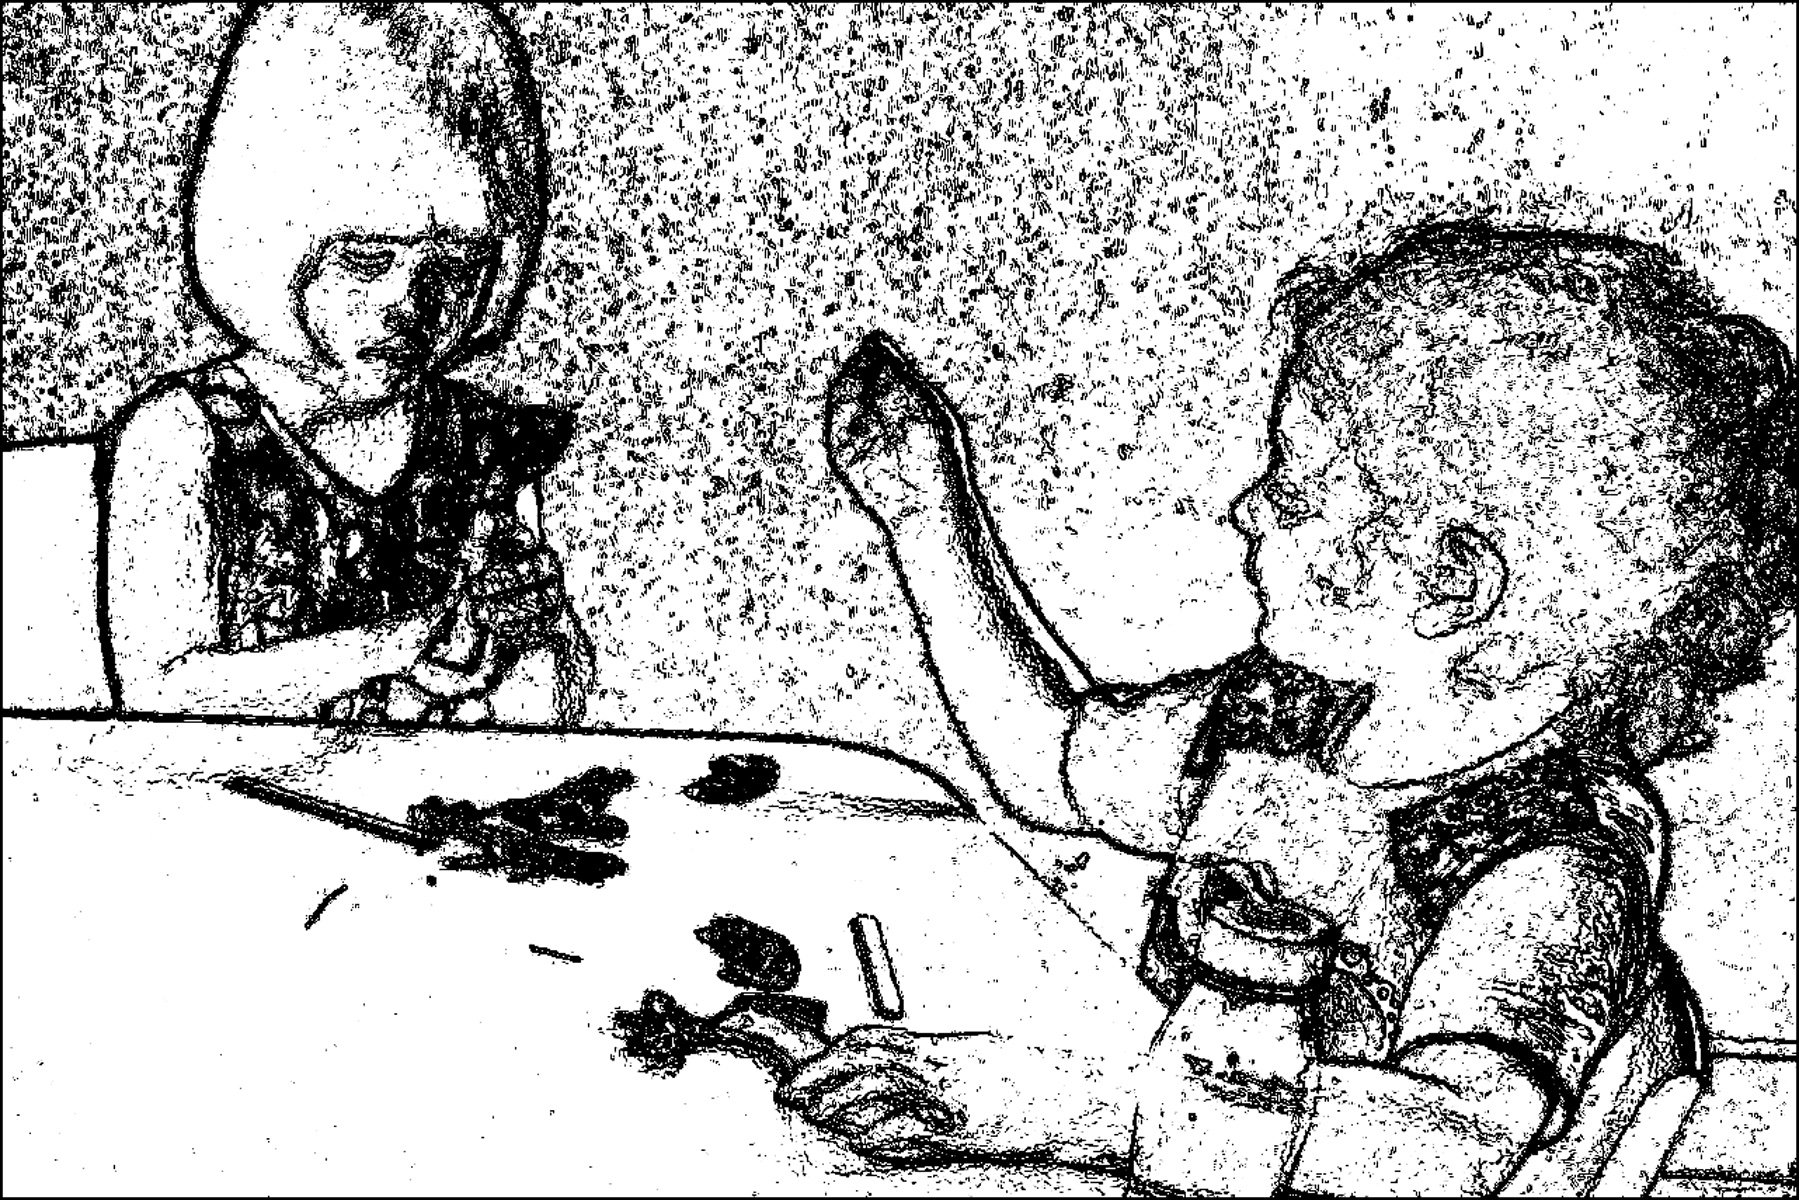
P. says to E.”Let me show you how to do it…”
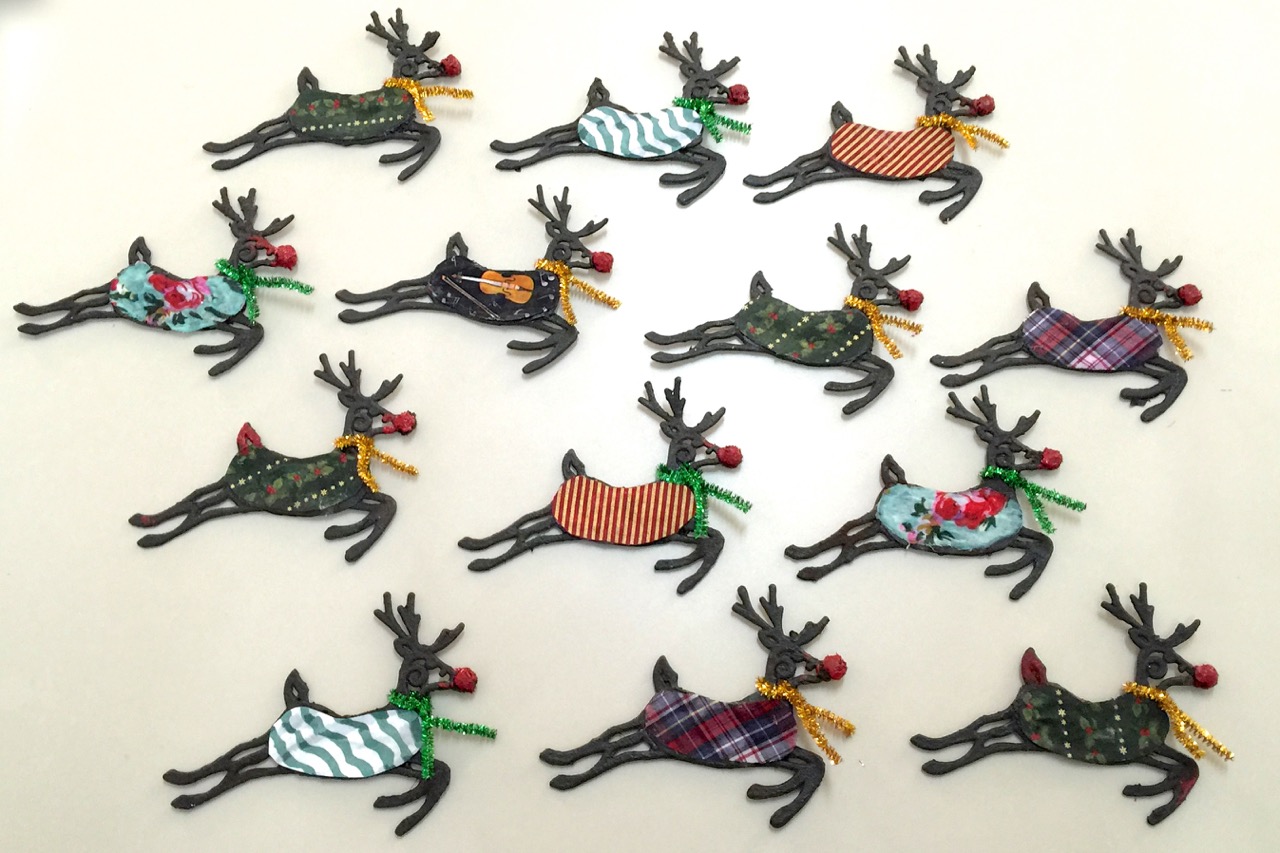
A Parade of Deers. Here are the works of my 2 to 5 year old crafters…(of course, I spared them the messy priming)
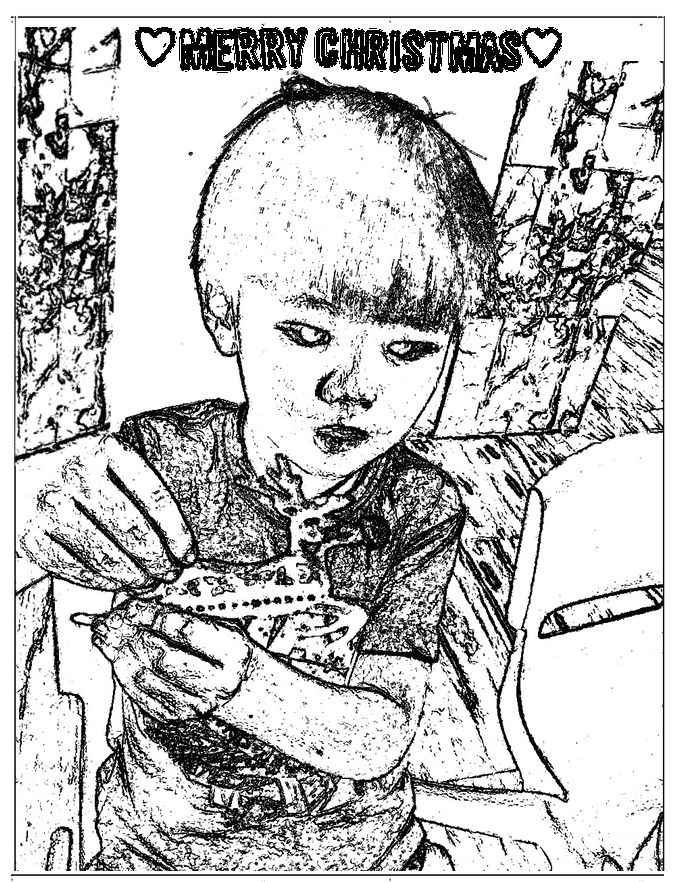
“Look at my Rudolph!”
![]()
So do...try to be mindful of : 1) creative objects and ideas around you… just like I took inspiration from a Rudolph kleenex box and a store-bought sparkly leaping reindeer. 2) what you can do to spread joy this season (just as Santa’s little helper is) and throughout the year, especially to those in need.

Recent Comments