
CHRISTMAS CRAFTS 2: Polka Dot Tree & Card
Today we make a mini polka dot Christmas tree ornament. Yes, a mini to attach to the big (artificial) tree or hang somewhere around the house. And while polka dotting the little ornament we can use the excess paint to also dot a fabric tree to use as centrepiece for our homemade Christmas card.
For the Polka Dot Tree
You’ll need:
- store-bought mini trees (or make/shape your own)
- green acrylic paint
- paint brush
- gold star and string
- glue gun
- cotton swabs (like Qtips)
- red and white paint (for dotting)

My son and I applying the base coat on the mini trees.
STEPS:
- Paint your mini trees a thick coat of green paint. Allow them to dry completely.
- When dry, use glue gun to adhere gold string then star to the top of the tree.
- Now your tree is ready for decorating: Using a Q tip, dot your tree with red and white acrylic paint.
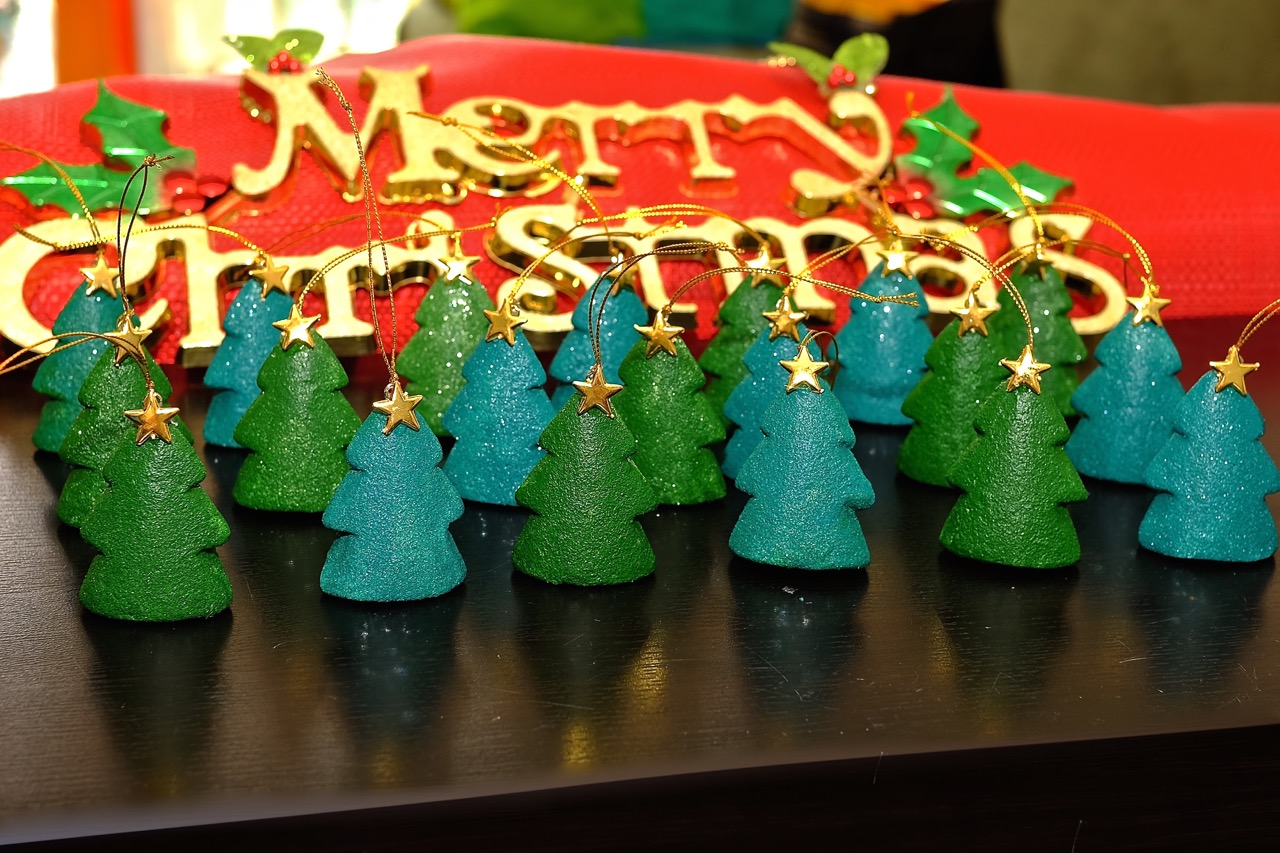
Mini Christmas primed and ready for the polka dot painting activity

Tree on Tree. Here’s my sample finished polka dot tree Christmas ornament.
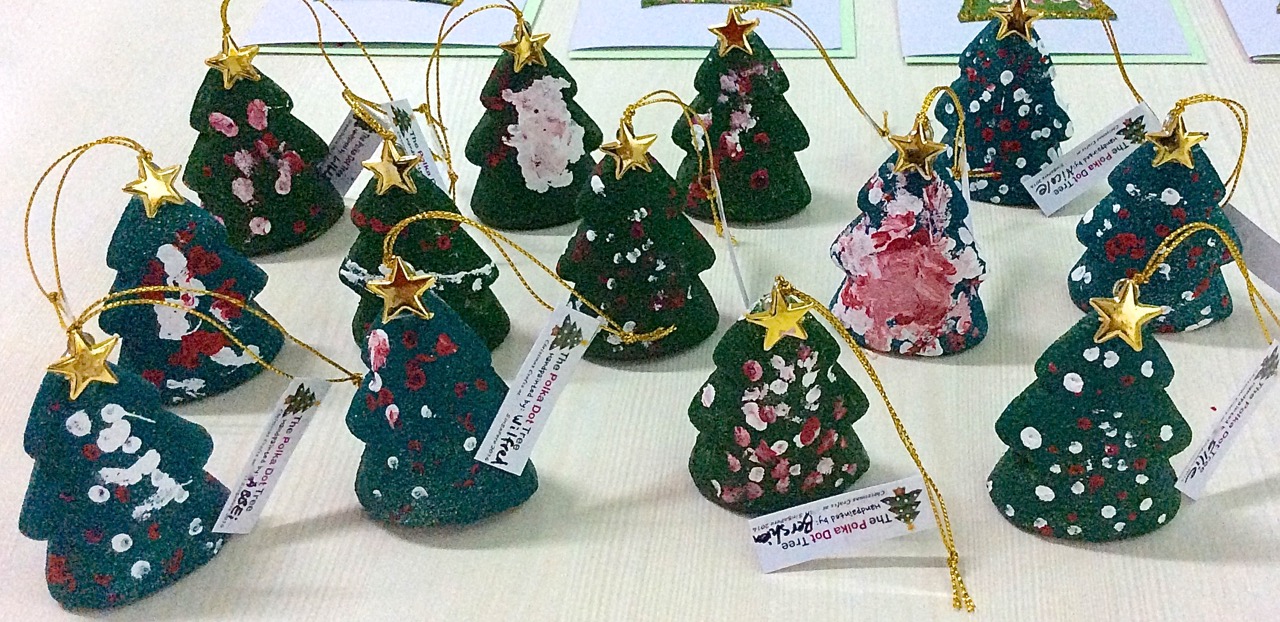
Here are the fiinished polka dot Christmas tree ornaments by my students.
For the Polka Dot Card
You’ll need:
- card stock paper (white or kraft, your choice)
- envelope
- Christmas tree and Christmas greeting rubber stamps
- green fabric (self-adhesive) – I got mine from Daiso
- green and red ink pads
- cotton swabs (like Qtips)
- red and white paint (for dotting)
- gold star stickers

Steps to making your Homemade Poka Dot Tree Christmas card
STEPS:
- Cut and fold card stock paper to fit envelope.
- Stamp Christmas greetings on card and envelope. Set aside to dry.
- Make yourself a Christmas tree pattern (freehand/print out)
- Trace pattern on green felt and cut.
- Adhere to front of card; then add gold star sticker on top of the tree.
- Using Qtip (cotton swab) and some red and white acrylic paint, dot your tree.
(Since I did this project with 2-5 year olds, I did step 5 last and by myself after class. It’s the only way to keep that card clean.)

Here’s the sample finished card
Optional: apply glitter glue around the edges of the tree.

The kids in my class had no trouble working on the Polka Dot Tree double project.
And they made good use of the paint given to them.

The Polka Dot centrepiece nicely dotted by the kids and then adhered to the card.
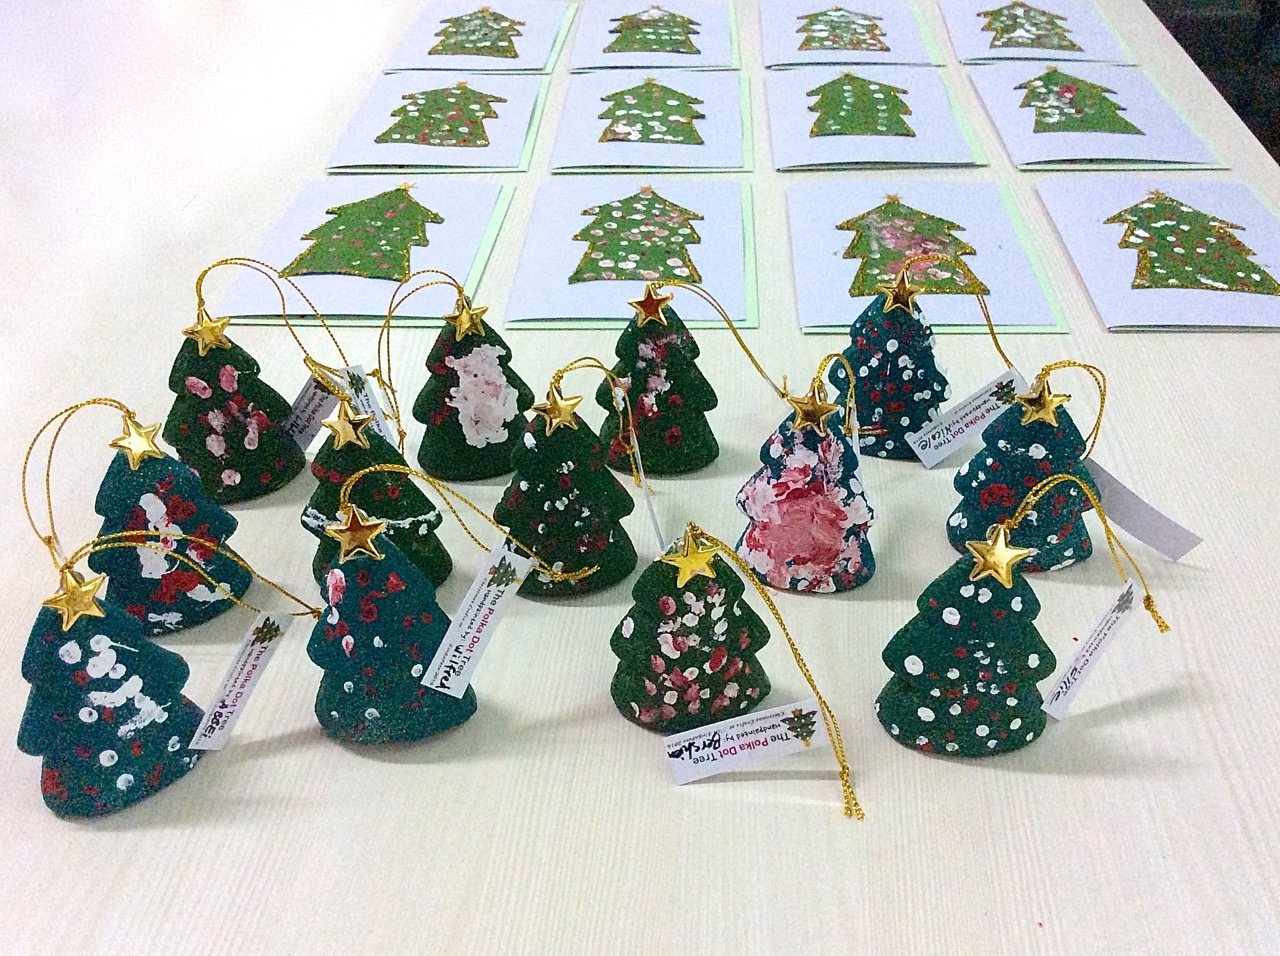
Here’s a photo of the kids’ Polka dot trees and cards all neatly lined up:
It was the last day in school for one of my most enthusiastic young crafters. I was sad she was leaving but happy that she got to enjoy at least one Christmas crafting session with us. As you can see from the photo below, she even finished two mini tree ornaments.

![]()
So do…remember that sometimes it helps to use some store-bought base material for your crafting projects. No need to build from scratch all the time. It doesn’t mean it won’t result to an interesting output, and loads of crafting fun!

Recent Comments