
Spring ‘Roll’ Crafts 4: The Butter-Roll
Today I will show you how to make a faux stained glass butterfly using a toilet paper roll and a transparency sheet (acetate).
Materials:
- toilet paper roll
- transparency sheet (acetate)
- black dimensional paint (like Puffy)
- scissors
- kraft paper
- cardboard
- black chenille stick
- glue gun
- magnetic sheet
- acrylic paint: black, yellow, fuchsia, blue, purple, white
- small brush
Let’s begin…

Step 1- Cut toilet paper in half (lengthwise).
Step 2- Cut 1 end cover, 2 back covers from the cardboard.
Step 3- Cut butterfly shape from transparency sheet.
Step 4- Draw basic outline of butterfly wings using a non-permanent marker.


Step 5- Attach end & back covers using a glue gun.

Step 6- Build the butterfly head by crumpling kraft paper; adhere to body using the glue gun.
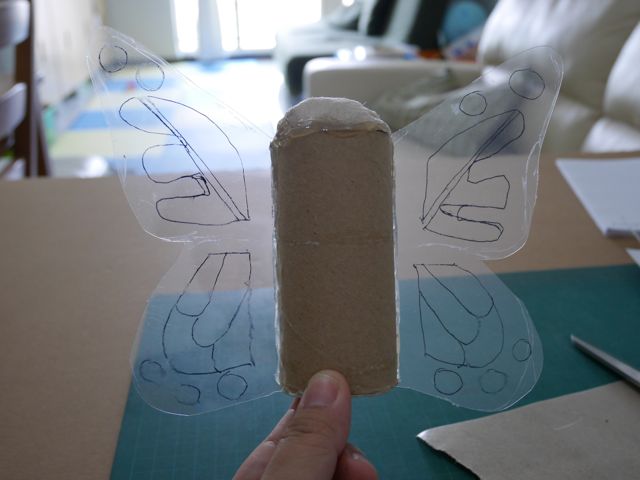

Step 7- Using the glue gun: adhere transparency butterfly to the body and then adhere second back cover behind the transparency.

Step 8- Back of butterfly: Paint details of wings on transparency using black dimensional paint (or regular black acrylic paint & a paint brush); paint back cardboard with black acrylic paint.

Step 9- Paint the body of butterfly with black acrylic paint.Allow to dry completely and then puncture two holes on the head to insert the chenille antennae (feelers). Adhere using the glue gun.
Option: Adhere a magnetic strip to the back of the butterfly body to turn this into a fridge magnet.
And there you have it- your butterfly is ready to be turned into faux-stained glass art.
To Teachers:
Here’s a wonderful INTRO to this art project:
Complete Life Cycle of the MONARCH BUTTERFLY
(time lapse video)
Here’s an INTRO video for a younger audience
“Learn All About Butterfly Life Cycle” on turtle diary
Check out my sample “Butter-Roll”!
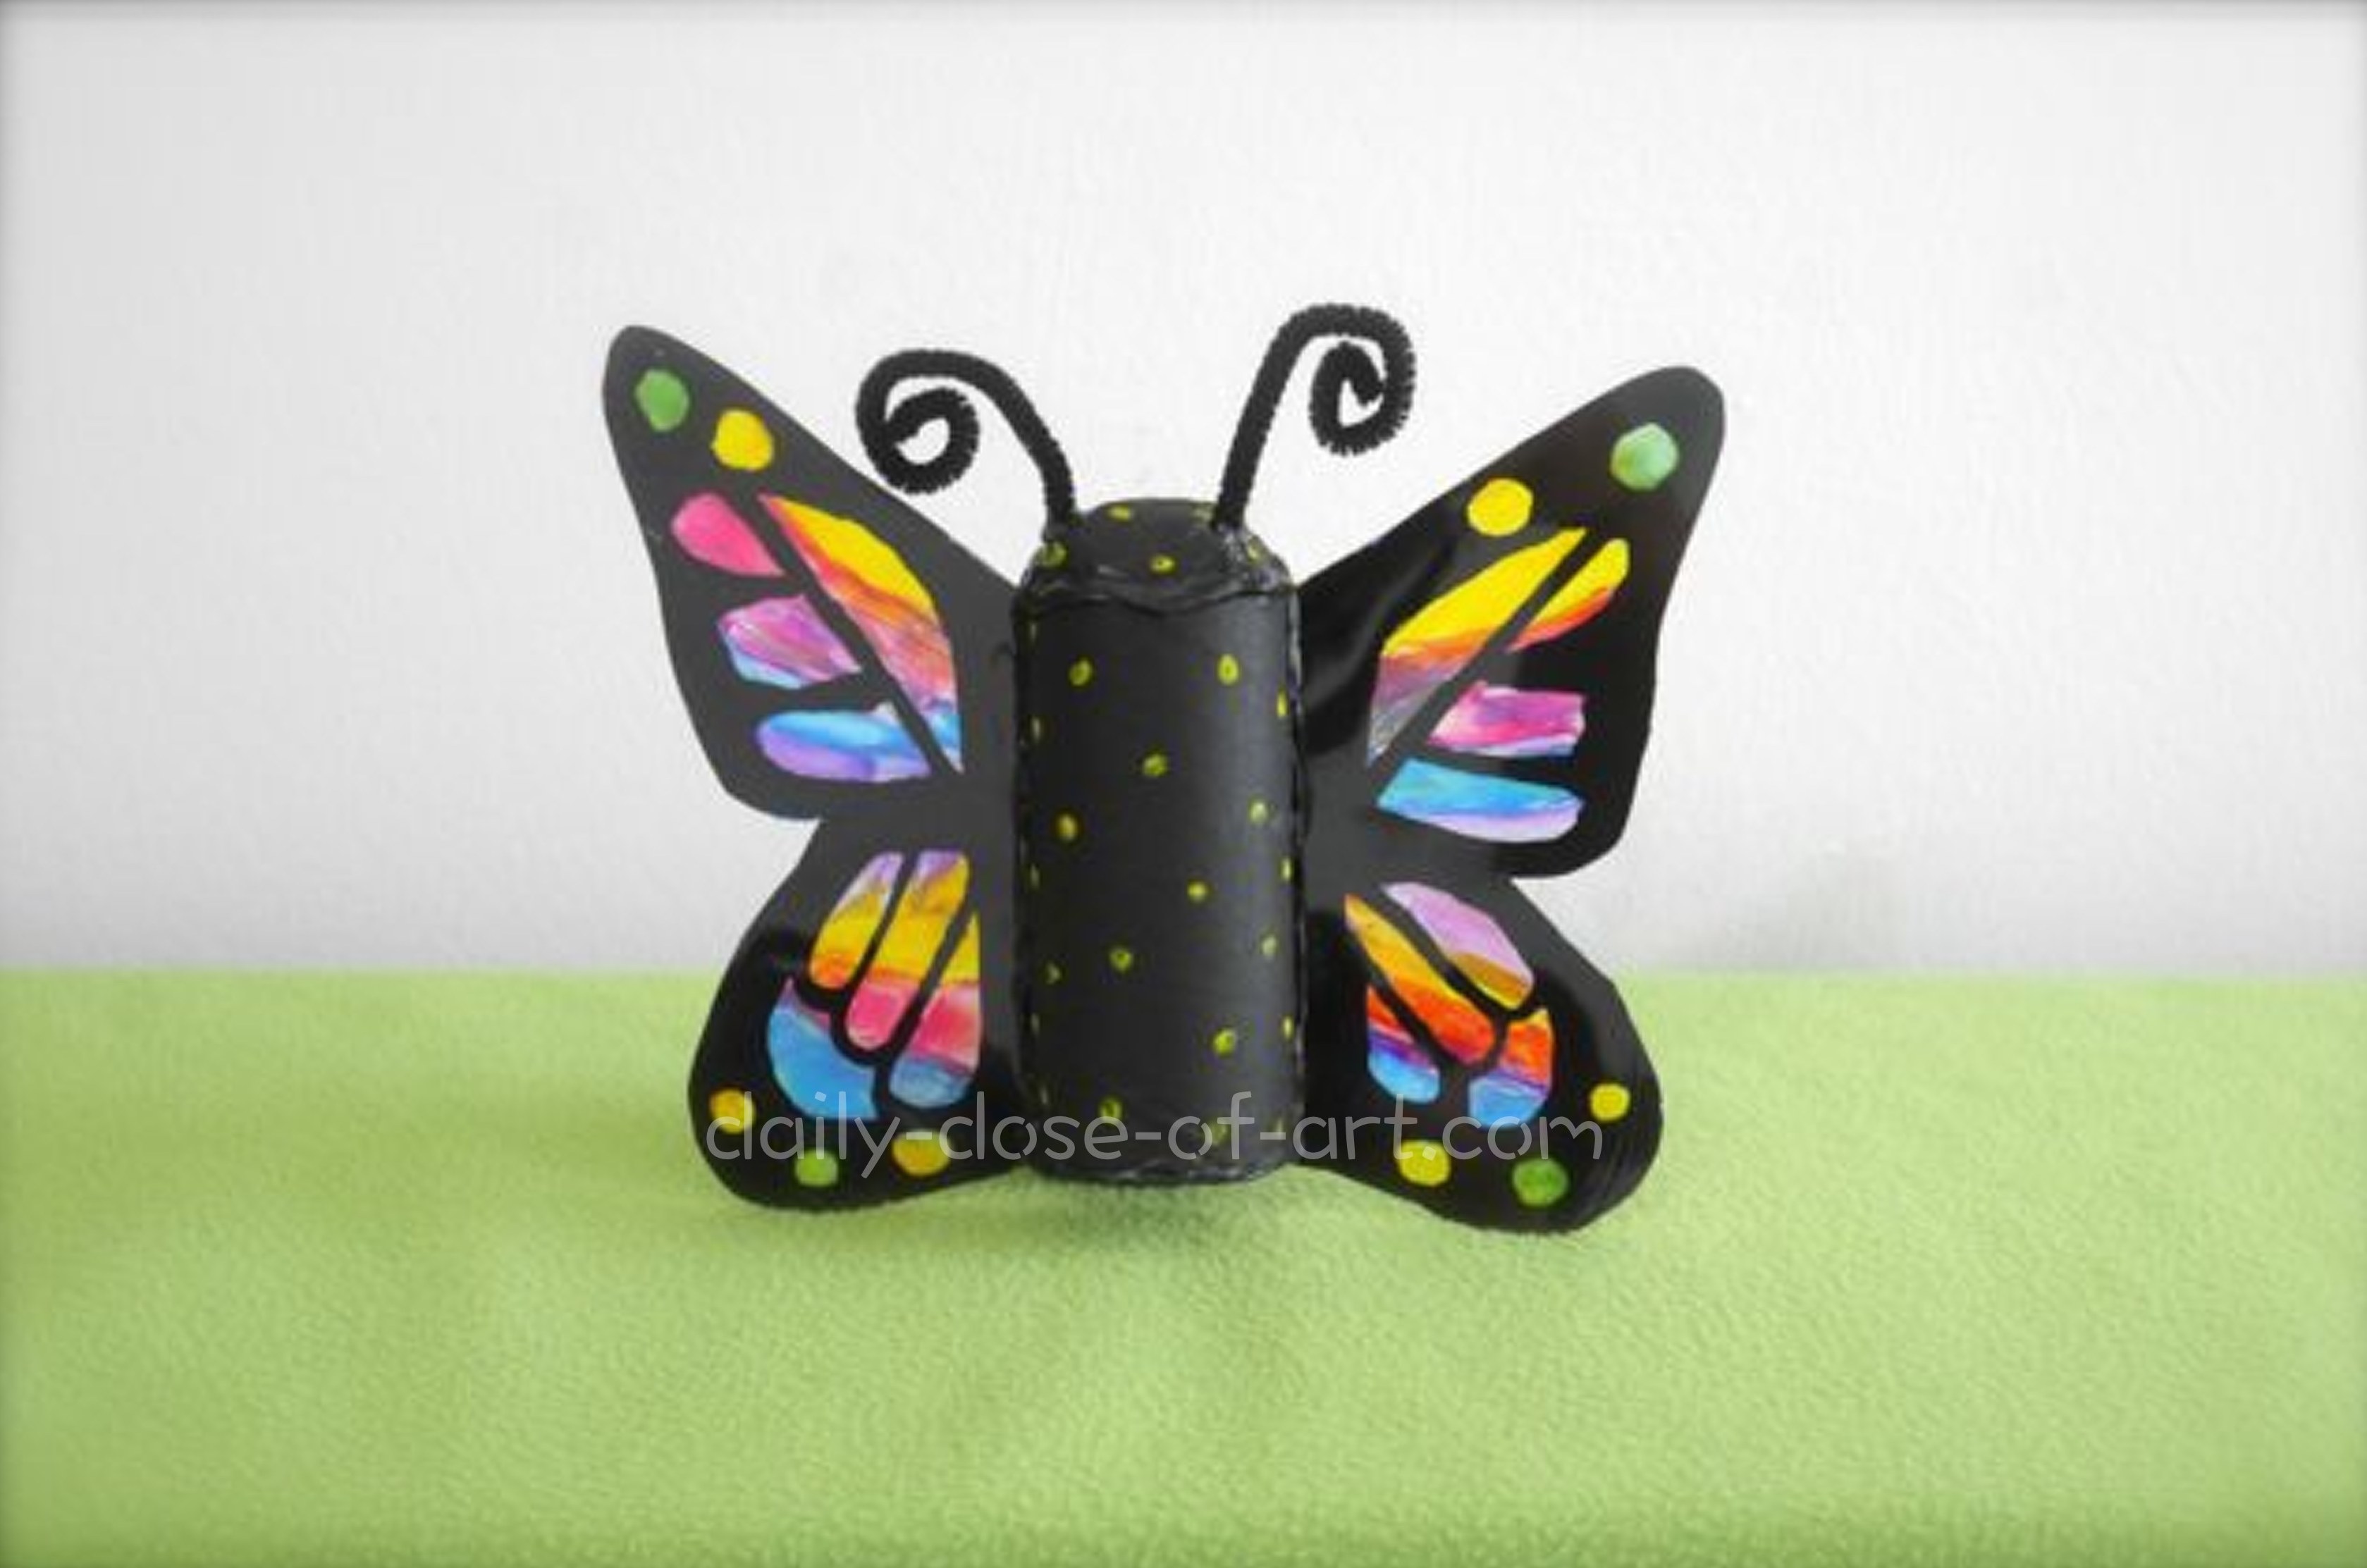
SPRING ROLL CRAFTS 4: “Butter-Roll” Faux Stained Glass Art
Designed & Crafted by Paulina Constancia on Daily Dose of Art
I used the following colours of acrylic paint: yellow, fuchsia, blue, purple & white. The great thing is that no matter what mess you make on the back, everything will still look nice and tidy on the front. For stronger colours, you have to allow paint to dry between layers.

Recent Comments