“Spring Roll” Crafts 2: The Polka Bunny
For the second part of our Spring Roll Crafts series, I bring you The POLKA BUNNY. I will show you how to make The Polka Bunny Sticker Activity Kit that children aged 2 to 92 can enjoy. Nobody is ever too young or too old for some sticker fun!

Checks & Dots Coordinates
Materials:
- toilet paper roll
- cardboard
- white bond paper
- 2 checkered origami or chiyogami paper (pink and blue colours)
- black construction paper
- pink construction paper
- blue and white dot stickers
- glue gun
- scissors
- cutting knife
- a pair of googly eyes
- black permanent marker
Let’s begin…
Steps to making “The Polka Bunny Sticker Activity Kit”

Step 1 – Wrap the paper roll with white bond paper. (use tape or glue gun to adhere) Set aside.
Step 2 – Cut out the following from cardboard: paper roll end cover, bunny ears, bunny feet, bunny nose (2 little round shapes on the left of photo above).
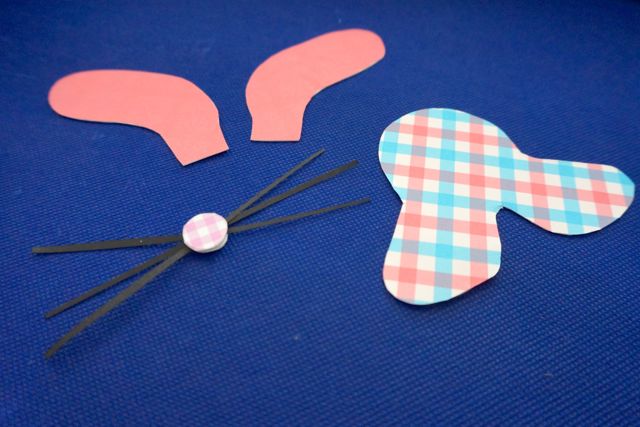
*Special thanks to my Japanese friend Misa for sending me some lovely two sided chiyogami paper. I cut out the pink bunny ears and checkered feet from the same sheet.
Step 3 – Use the checkered and plain papers to cover the cardboard shapes. Note: For bunny nose adhere checkered pink paper to one, then glue whiskers behind that (In my example, I glued an identical sized circle on the other side of the whiskers.)
Step 4- Adhere bunny feet using glue gun.
Step 5- Adhere cover to paper roll using a glue gun. Allow glue to cool. Cut slits on the cover using cutting knife; insert and adhere bunny ears using glue gun.
Step 6 –(Optional)- You can include a pre-drawn bunny smile in your kit. Using a black permanent marker, draw a bunny smile on the same type of paper you used to wrap the roll and put 2 sided tape on the back to turn it into a sticker.
(Kids can either stick it to bunny or use it as a guide to draw freehand)
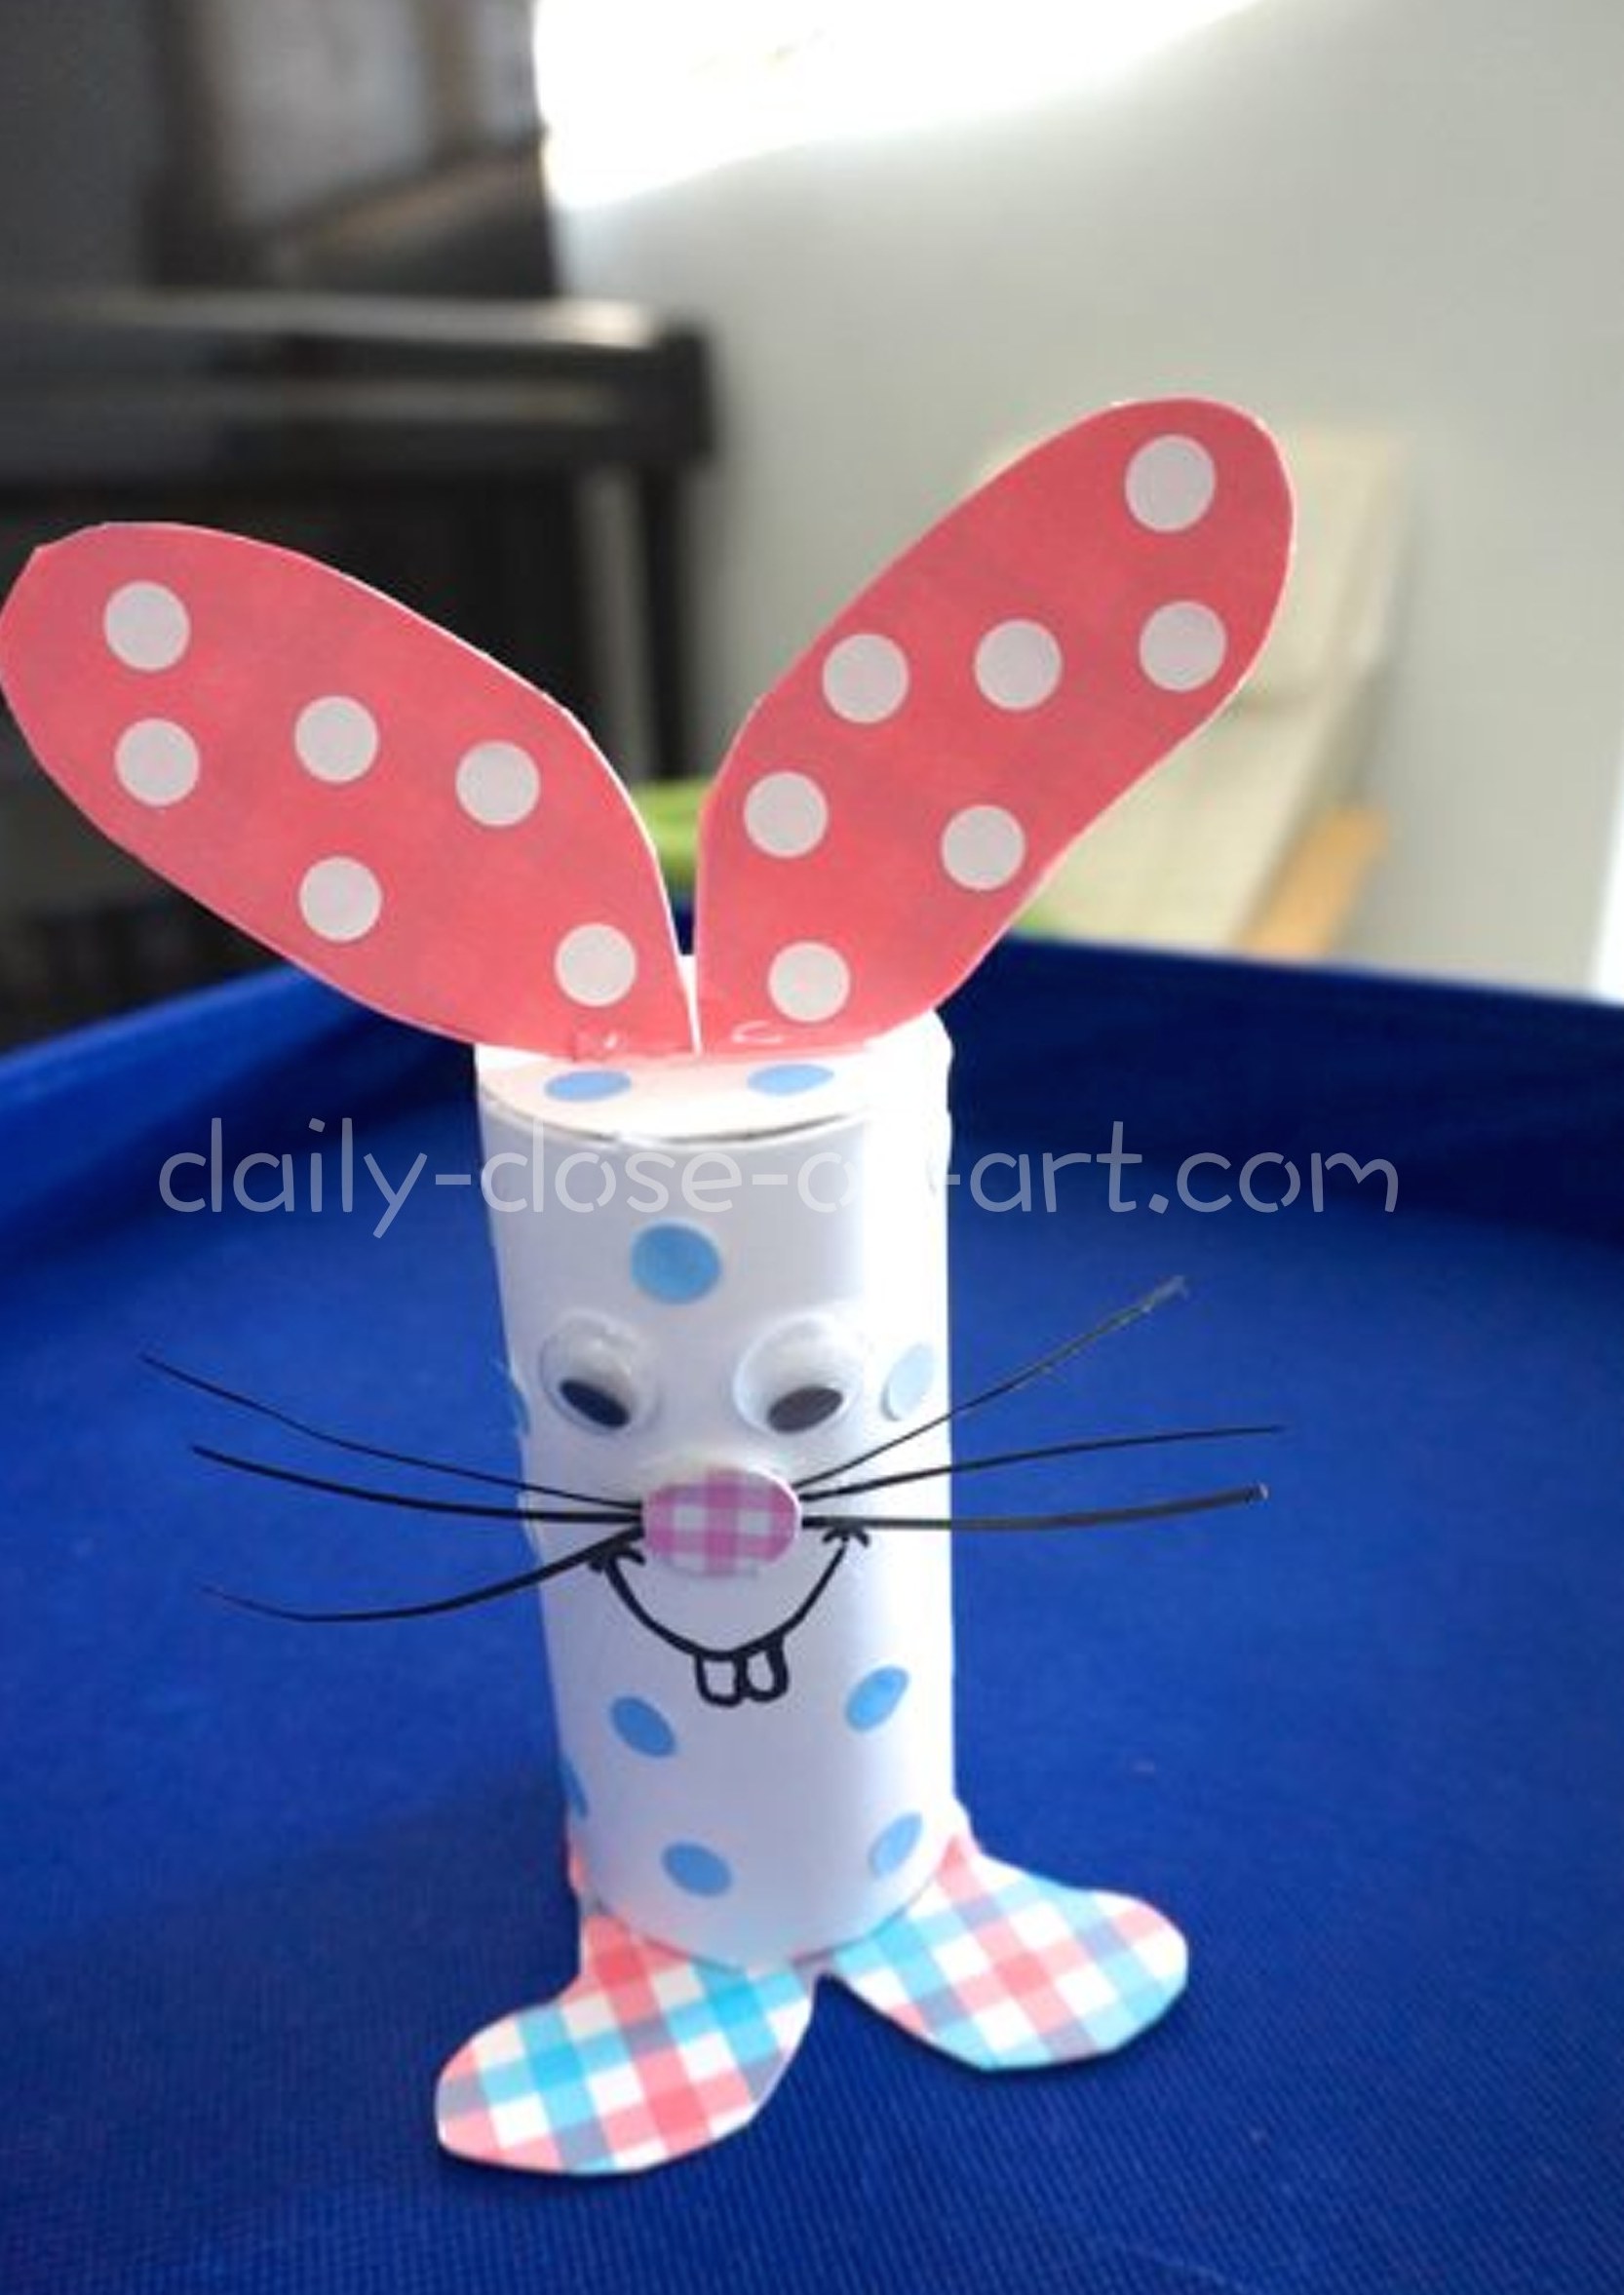
There you go- you just finished The Polka Bunny Sticker Activity Kit. Have a fun Spring-Easter activity with your little artists. 
The Polka Bunny Sticker Activity Kit
- 1 Bunny Body (with ears & feet)
- 2 googly eyes
- 1 Nose (with whiskers)
- 1 Bunny smile
- 20 white dot stickers
- 30 blue dot stickers
*Note: First four components should have double sided tape on the back.
To Teachers/Parents
Here’s my suggested warm-up activity for your class:
This Is The Way The Bunny Hops (& kids can sing & dance along)
Check out my Polka Bunny sample…
SPRING ROLL CRAFTS 2: “The Polka Bunny”
Designed & Crafted by Paulina Constancia on Daily Dose of Art

Recent Comments