
Year of the Horse Crafting 3: MAREvelous Brooch
Today I bring you a MAREvelous Brooch project. MAREvelous because mare, for the benefit of non-horse experts like myself, is ‘an adult female horse or the female of other equine species’ via thefreedictionary. With a play of fuchsia and glitters, this is indeed a most feminine crafting adventure.
Intro Activity: Learning Horse Terms via cowboy way
Note to teachers: Choose terms appropriate for age group of your students
Colt – A young male horse, 4 years old or younger. The word “colt” is also sometimes used more casually to refer to a young horse that is male or female.
Filly – A young female horse, 4 years old or younger.
Foal – A newborn or very young horse, male or female.
Gelding – A male horse that has been castrated, or gelded.
Mare – A mature female horse.
Stallion – A male horse that has not been castrated.
Dam – The term given to a female horse when she becomes a mother.
Sire – The term given to a stallion when he becomes a father.
Let’s get started with our crafting adventure:
“MAREvelous Brooch”
Materials:
- plastic lid
- brooch pin
- horse head template
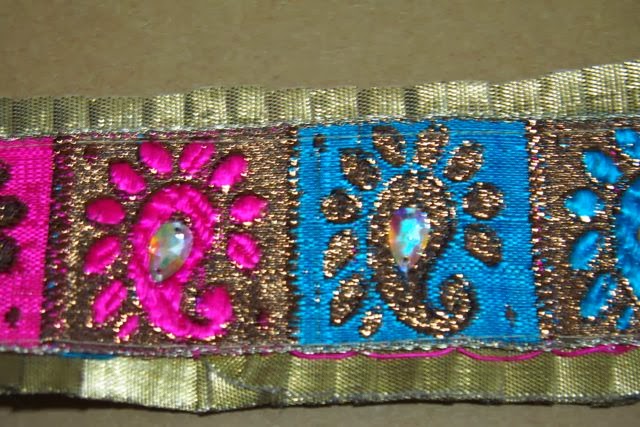
- sari embellishing tape/ribbon
- fuchsia felt
- white crafting glue
- gold and blue glitter glues (or dimensional paint)
- scissors
- optional- beads & ribbons
Steps:
Step 1- Use template to cut a horse head shape out of the plastic lid.


Step 2- Cut out a portion of sari embellishing tape/ribbon.
Step 3- Glue fuchsia felt on top side of horse head.


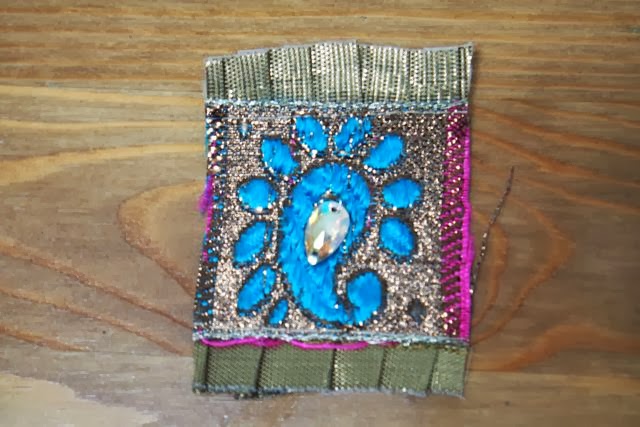
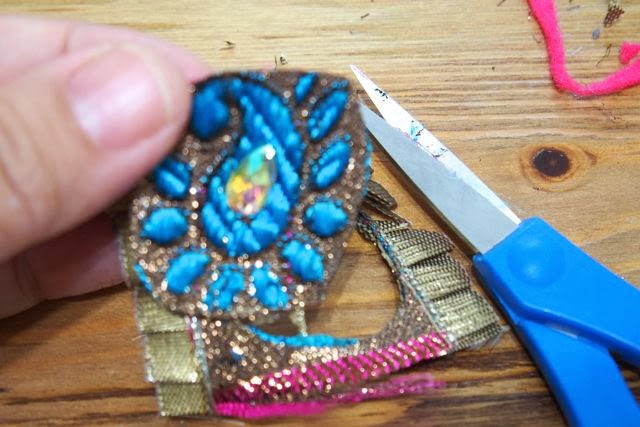
Step 4- Cut out the design you want to use from the sari tape. Glue onto horse.

Step 5- Using blue and gold glitter glues, add more details to design. Allowing the strokes to bleed onto fuchsia felt.
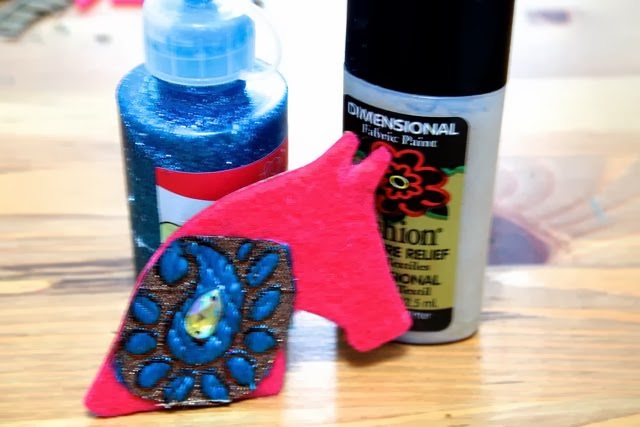

*It helps to elevate piece while adding more design details for easy lifting.
Step 6- Use the horse head silhouette again to cut a felt cover for the back. I used a coordinating blue color. Adhere to back using white crafting glue. For a finished look, use blue glitter glue all around the sides and allow to dry completely.


Step 7- Attach brooch pin.
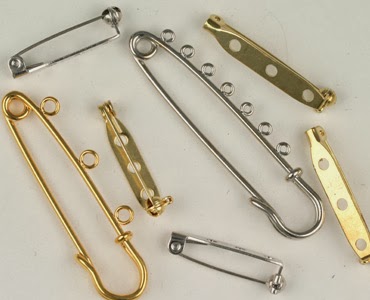 |
| Image via creativebeadcraft |
*As I worked on the piece, I changed my mind about the type of pin to use. I went with the back-attached brooch pin. It all depends on the ‘look’ you’re going for. Above is a whole selection of pins.
Note: Horse head piece could easily be turned into a fridge magnet (just adhere magnet to back), or a keychain (drill a hole and attach keychain), or a barrette (just glue on hair accessory hardware).
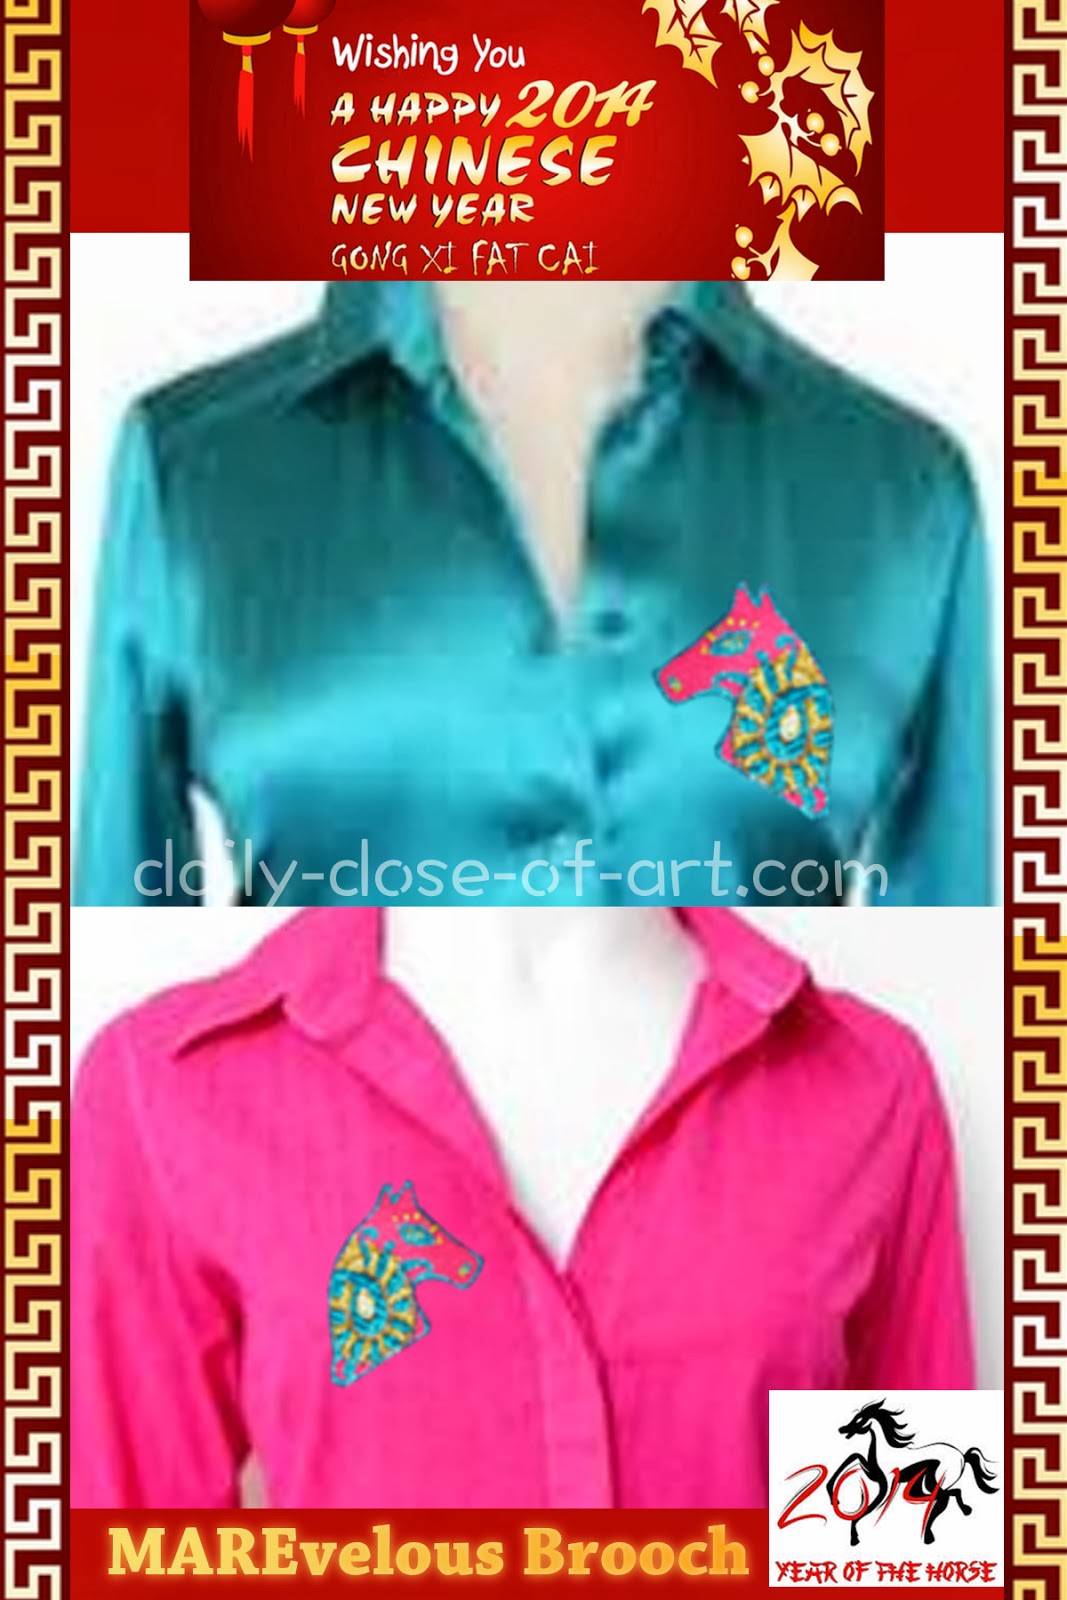
| Year of the Horse Crafting 3: MAREvelous Brooch by Paulina Constancia on Daily Dose of Art |
Horse Idiom of the Day:
You go with the horses you’ve got.
Meaning:Do what you can with what you have where you are.

Recent Comments