
Kite Flying Around the World (3) – How to Make & Paint Your Own Kite
September 8th and 9th this year are specially marked days for kite flying enthusiasts in Singapore. NTUC Income (the country’s leading composite insurer) sponsors the annual Kite Festival Singapore– a time for young and old to have some good clean fun. I thought this week would be a great opportunity to bring you “Kite Flying Around the World”.
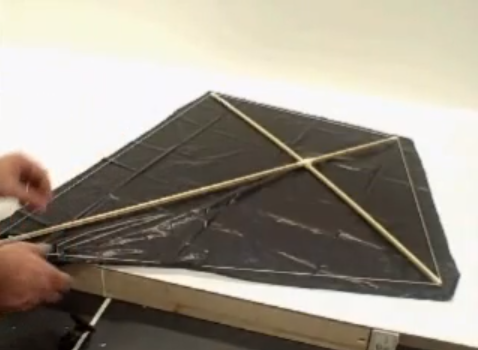
Today we’ll learn How To Make A Kite. I found two instructional kite-making videos that you can follow at home. I have also included step-by-step instructions on painting your own kite.


Step 1
Draw your design idea on paper.
Have some kind of inspiration for colours nearby.
I had a multi-colored ‘cinturón Guatemalteco’
(Guatemalan belt) nearby to inspire me.

Step 2
Using a pencil, copy your design idea onto your kite.

Step 3
This step is optional.
Trace your sketch marks with a fine permanent marker.

Step 4
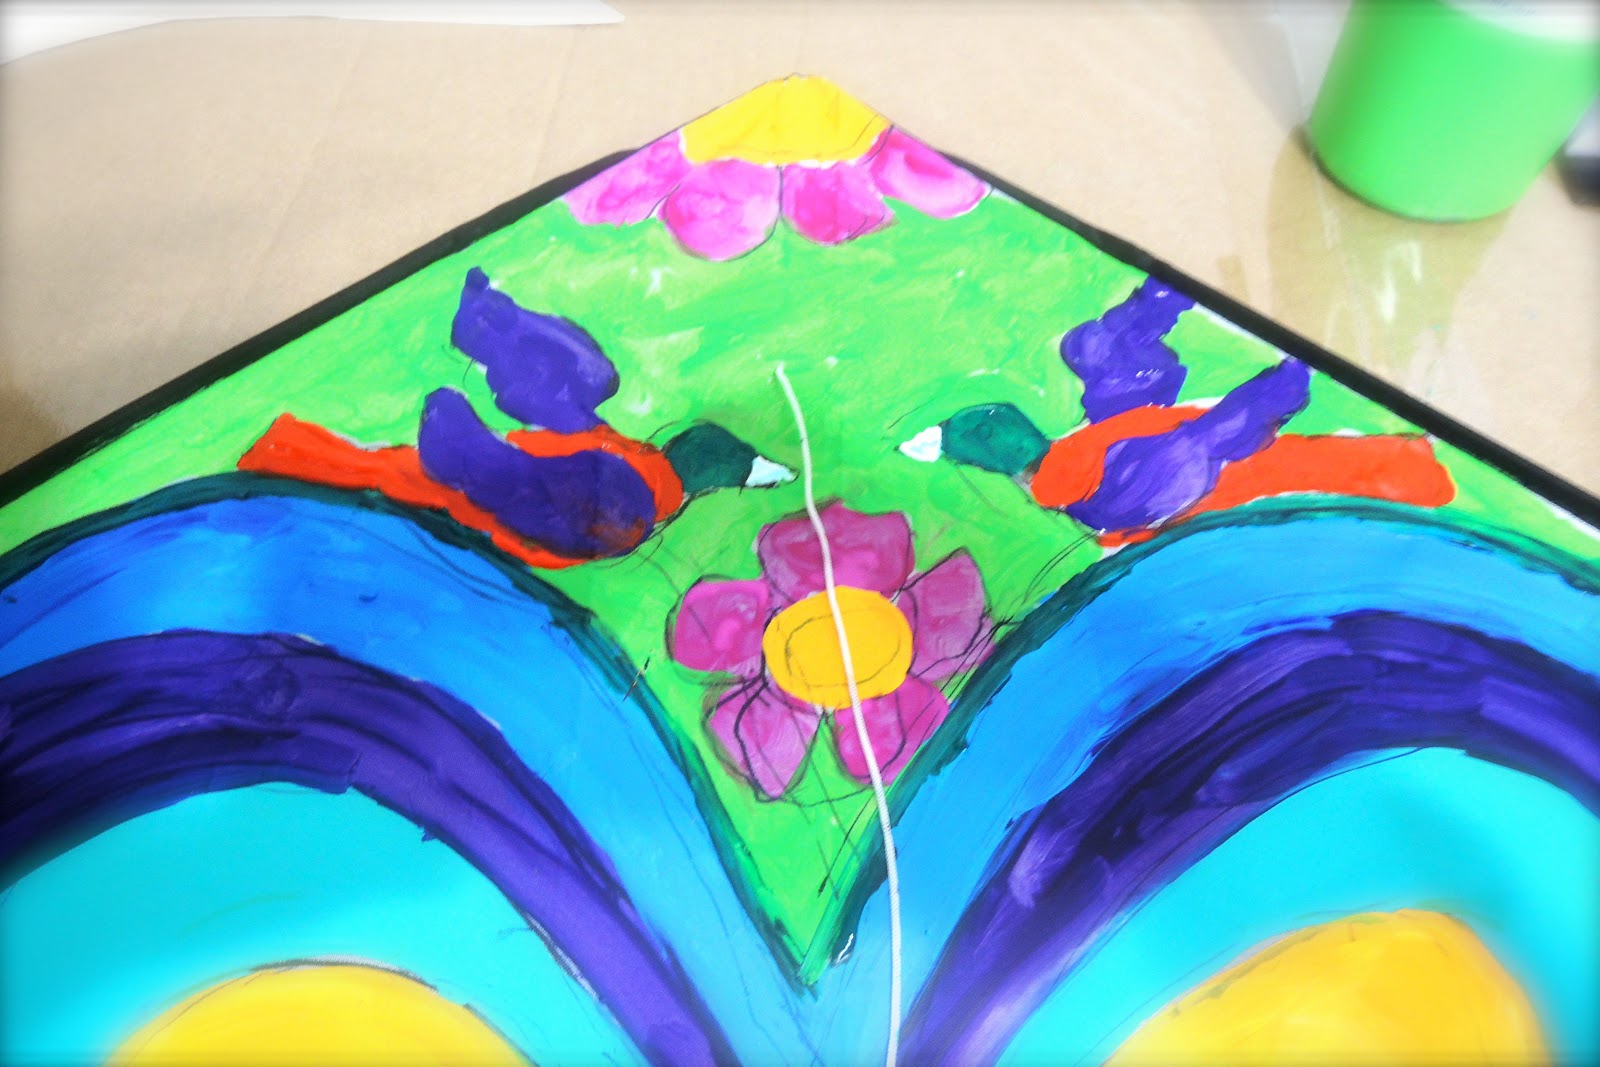
Start painting.
I started at the centre with a bright red paint.

Step 5
Keep painting the different rings around the heart,
using a different colour for every ring.

Step 6
Paint the wings with white paint,
using round strokes. Leave some spaces unpainted.


Step 9
Using dimensional craft paint,
add some design details.
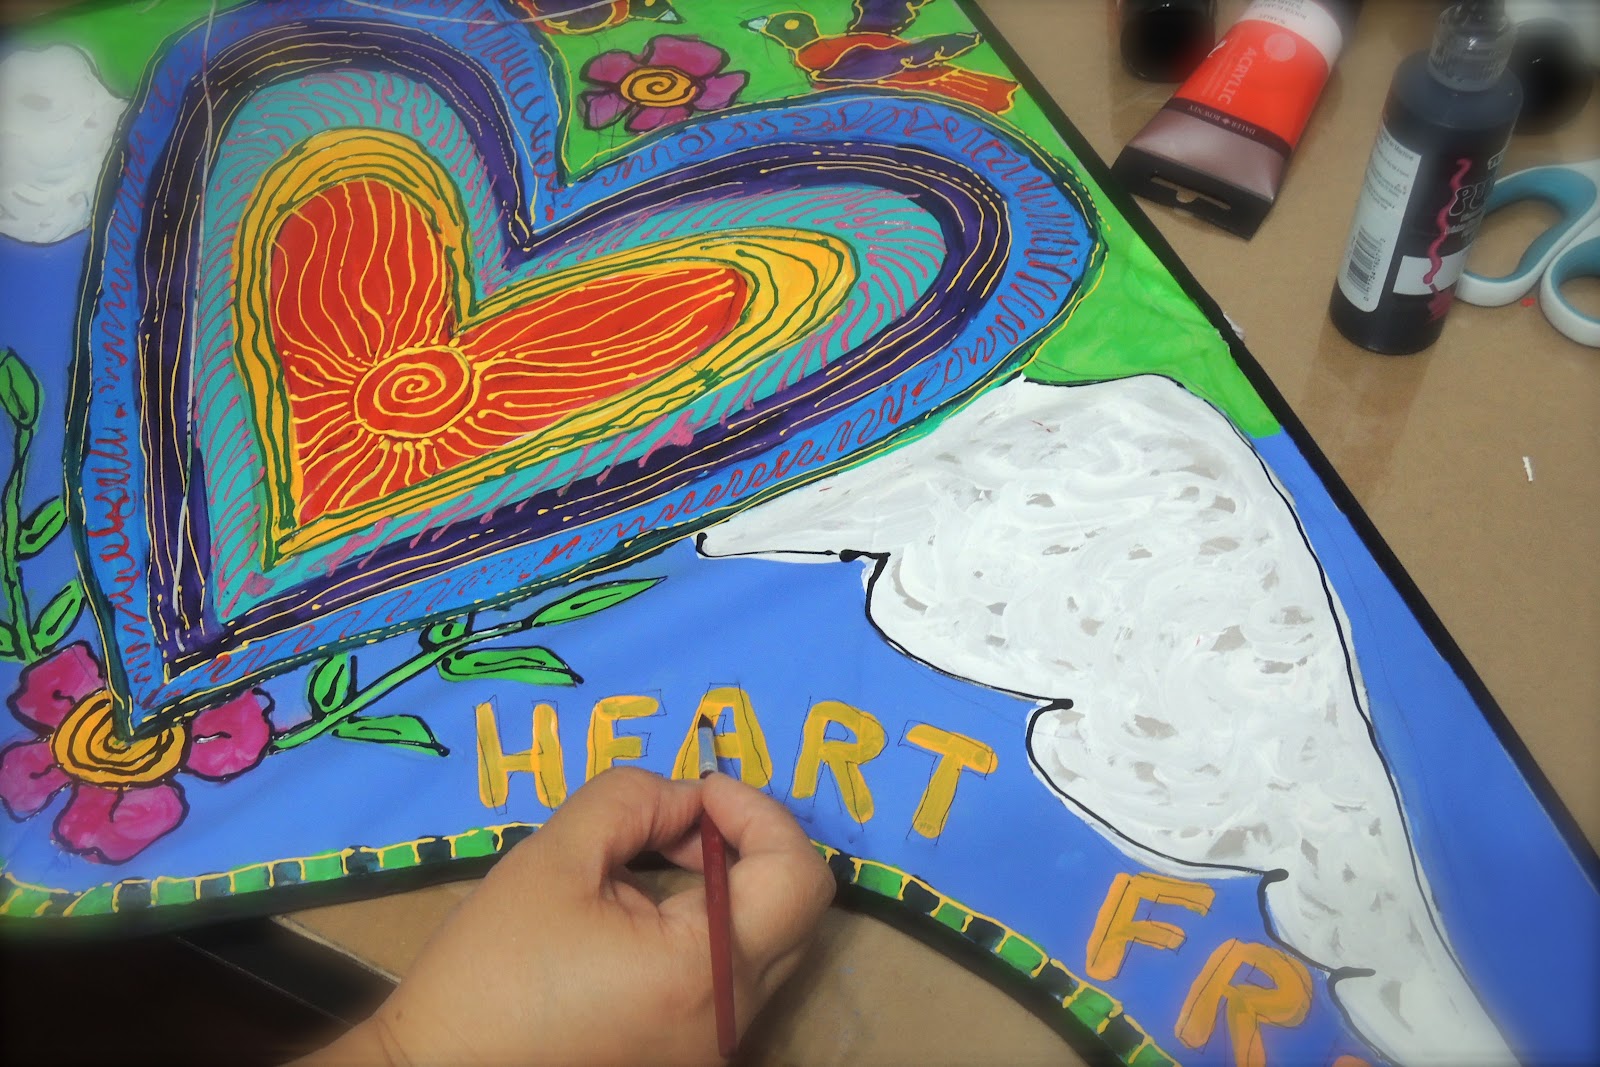
Step 10
Add some text, if desired.
I thought I might as well write my theme:
“Set Your Heart Free”

Step 11
This step is optional.
Using black dimensional craft paint,
enrich your text design by adding a text outline.
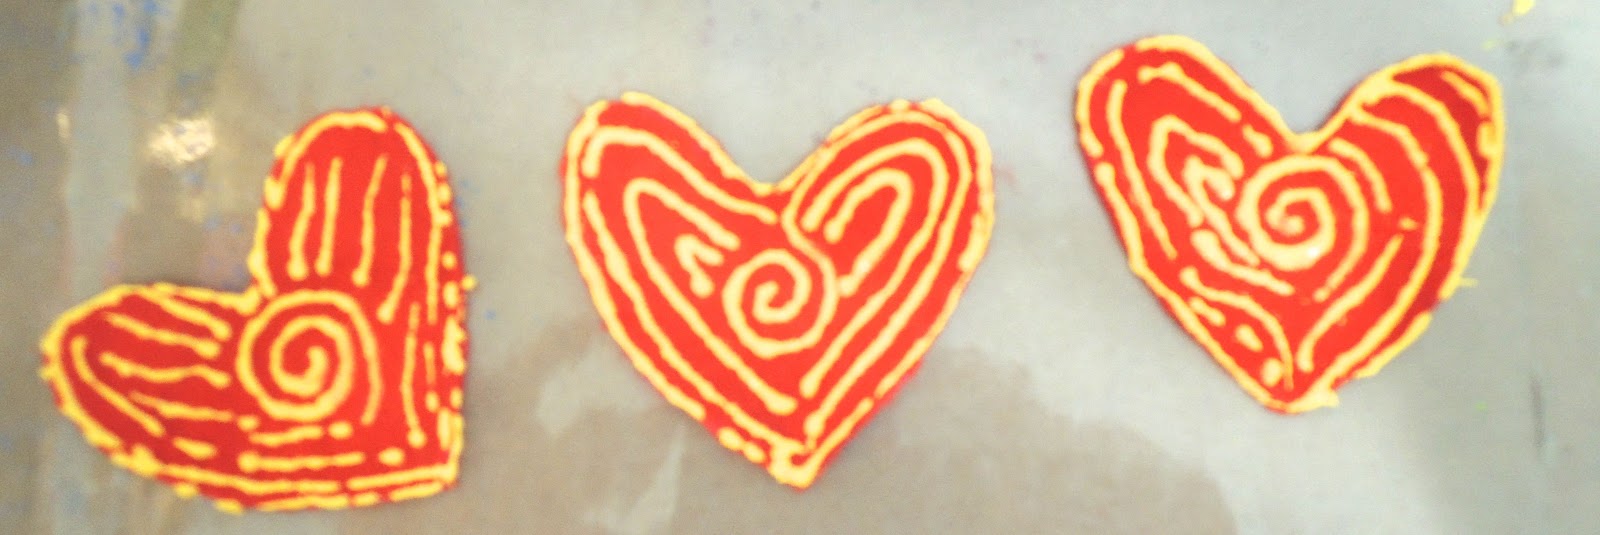
Step 12
This step is optional.
Cut 3 felt hearts, and paint similar details
as the central heart design.
Attach the felt hearts to the kite tails.
For the centre mini felt heart, I used a bias tape
to attach it to the kite.

Your work of art is now ready
to fly high in the skies.
Kite Festival Singapore, here I come!


Recent Comments